By default, prospects who apply through a prospect post on your job board will receive a confirmation email based on your organization's Default Candidate Auto Reply template. However, you can add a specific email template and message if you want to provide a more personalized response to candidates who apply to prospect posts.
Create a custom confirmation message for a prospect post
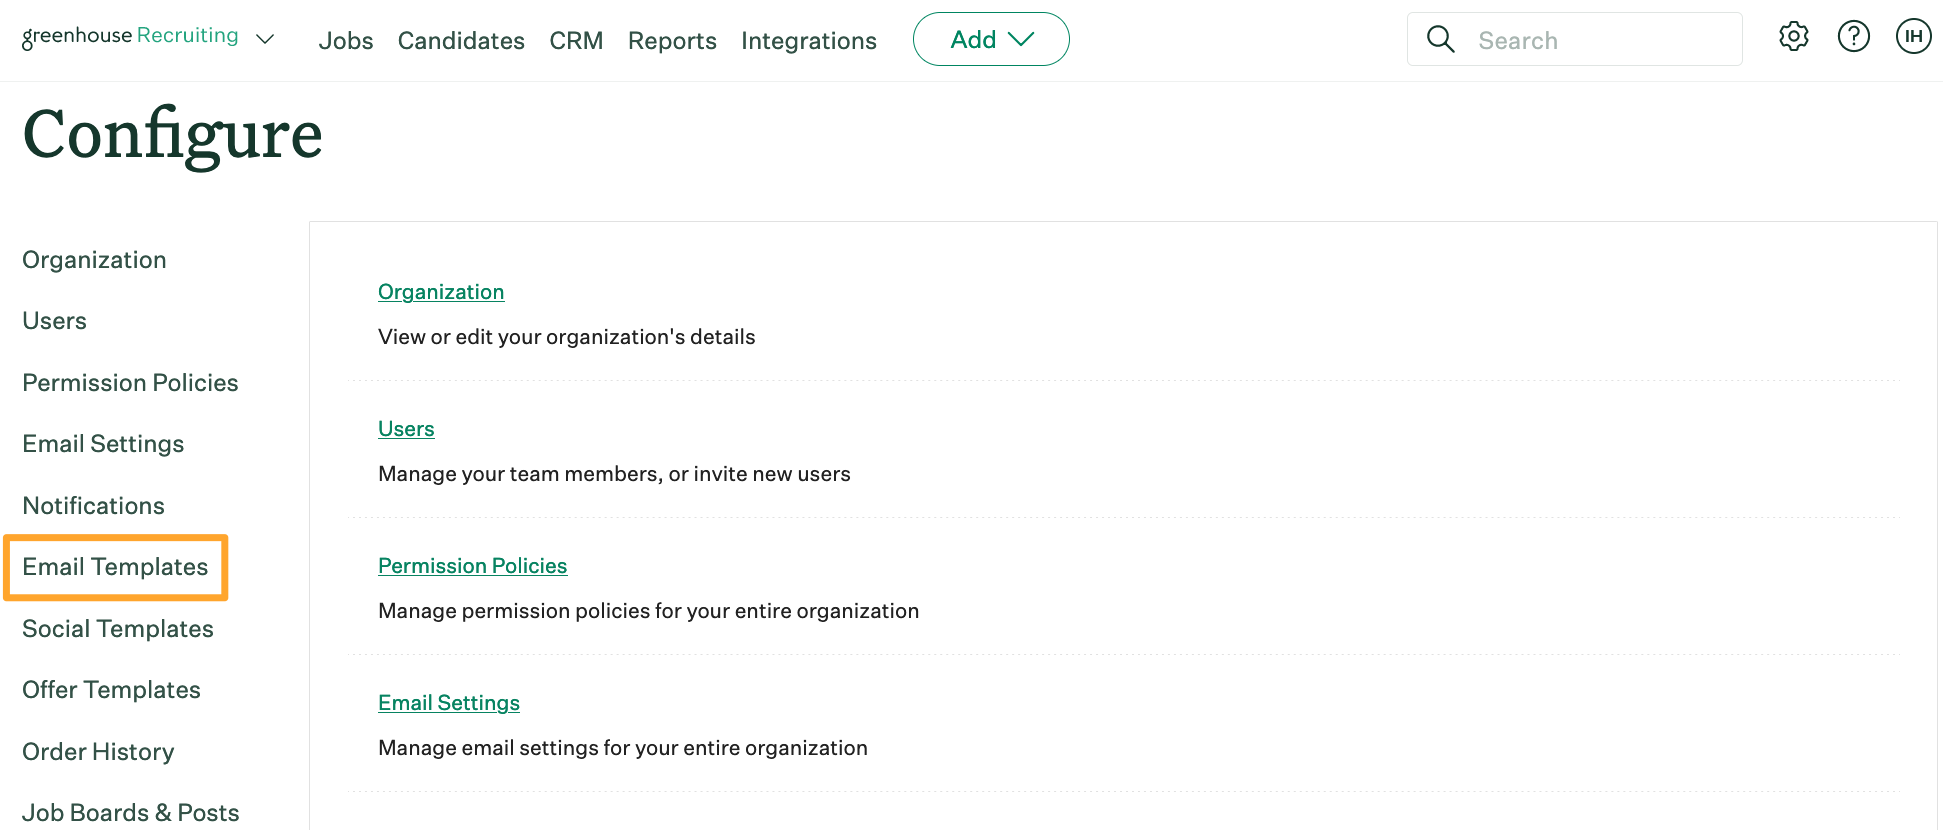
Navigate to the Email Templates page. (Configure ![]() > Email Templates)
> Email Templates)
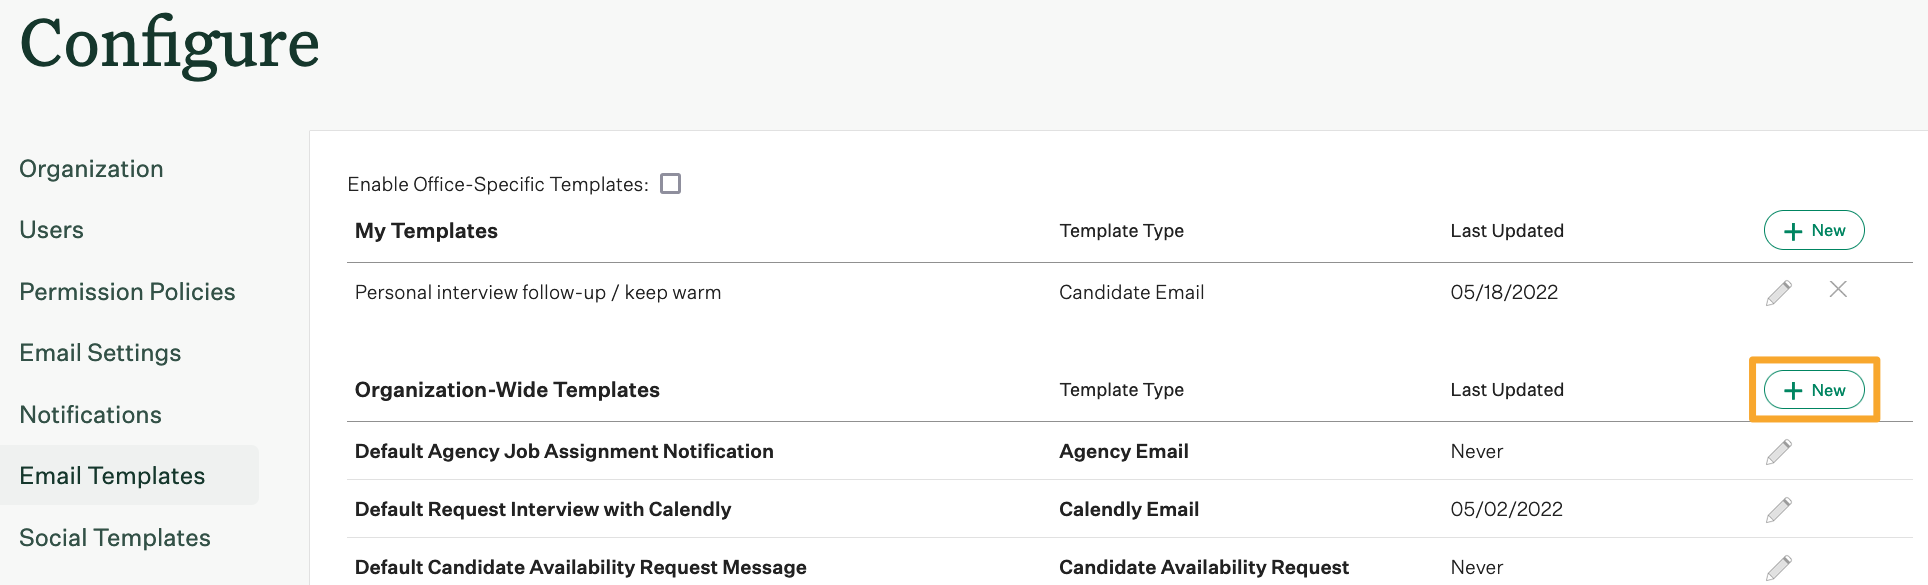
Click New in the Organization-Wide Templates section.
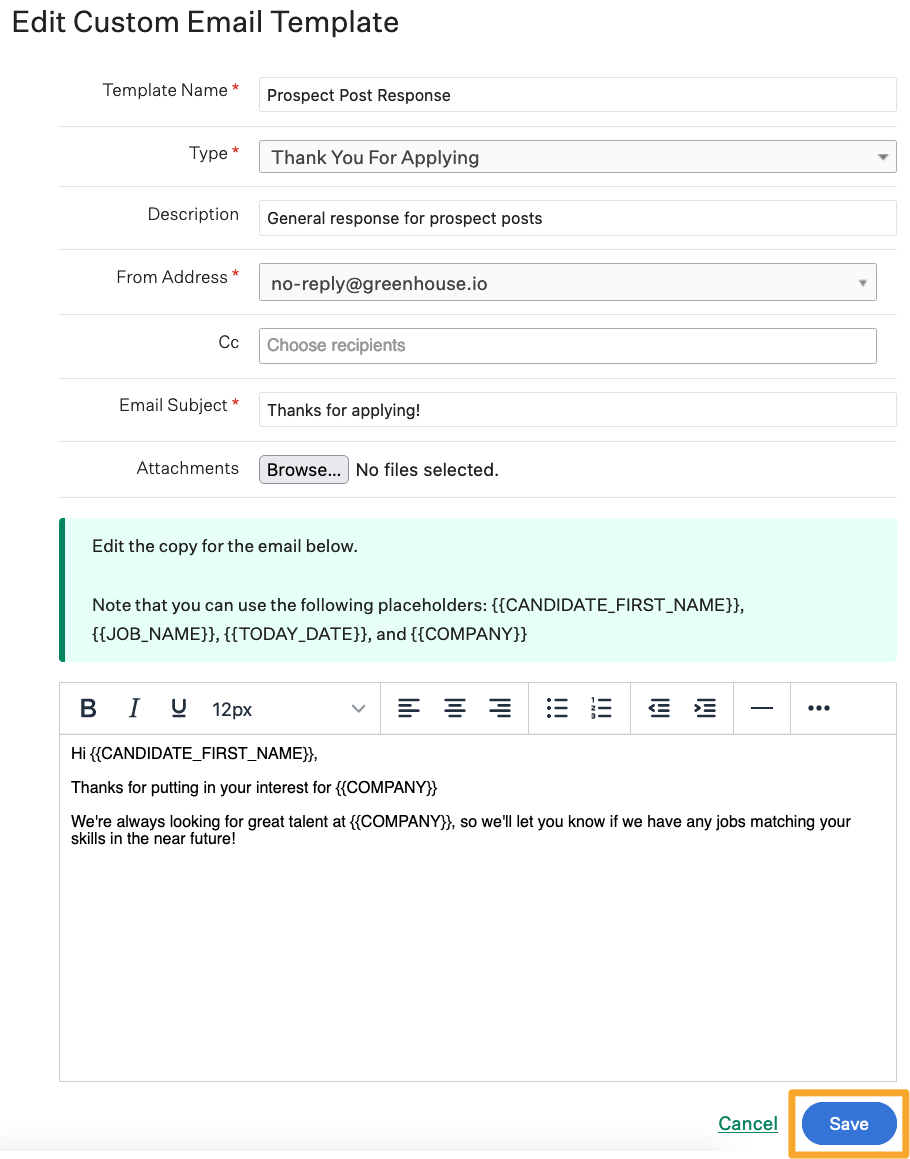
Define the email template. See the table below for more information on specific fields.
| Field | Notes/Description |
| Template Name | The name of the template that will appear in dropdown menus. |
| Type | The type of template. For confirmation messages, choose Thank You for Applying. |
| Description | An optional field to add additional details for the template. |
| From Address | The email address that will be attached to the message. |
| CC | Any users who should be CC'ed on the confirmation email |
| Email Subject | The subject header for the email. |
Navigate down to the email body section of the page and type or modify your message. You can use a few email tokens in this section to help make your email personalized to candidates. When you're finished, click Save.
Assign the template to a prospect post
Note: Users will need Job Admin permission levels or above and a CRM user license to configure the confirmation email settings for a prospect post.
Navigate to the Create Your Prospect Post page. (Configure ![]() > Job Boards & Posts > choose job board)
> Job Boards & Posts > choose job board)

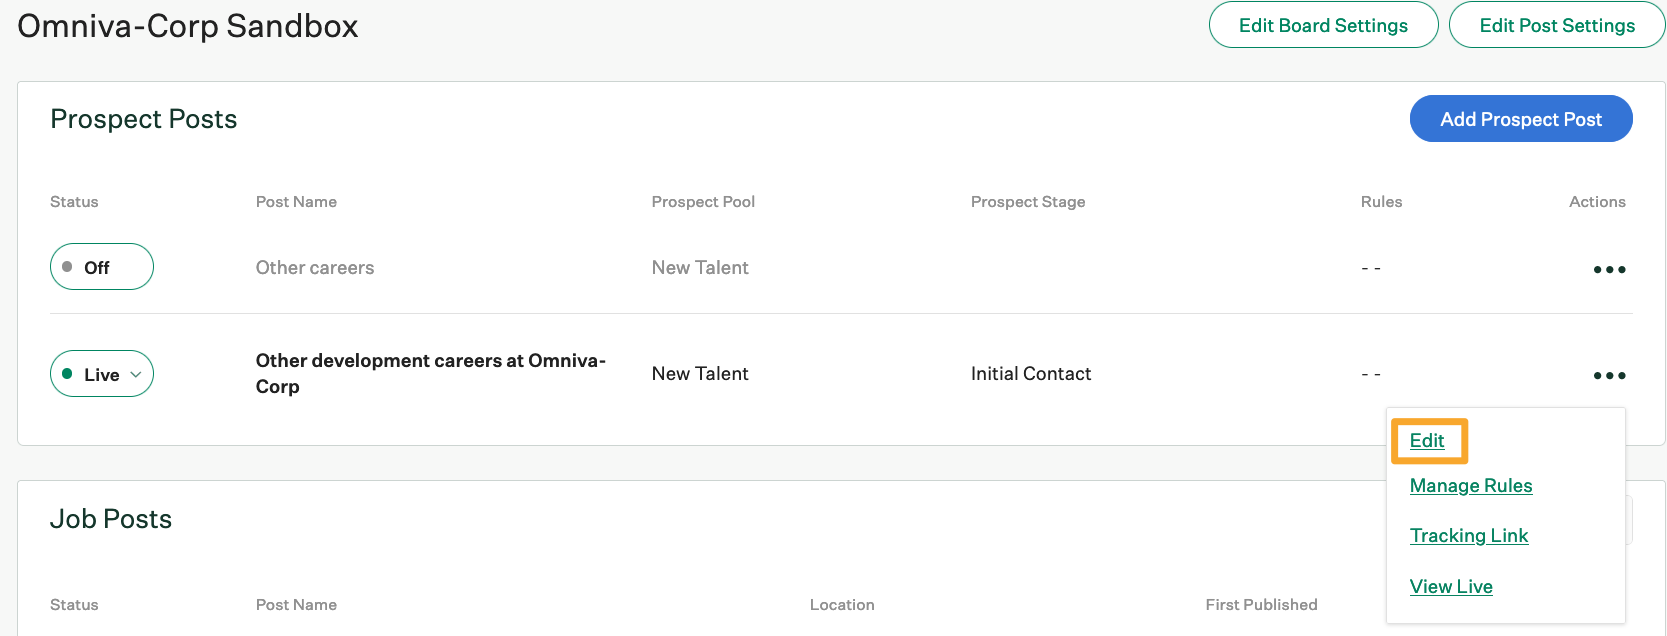
Click the ellipses icon next to a prospect post.
![]()
Click Edit.
Click Continue until you get to the second page of the Prospect Post settings.
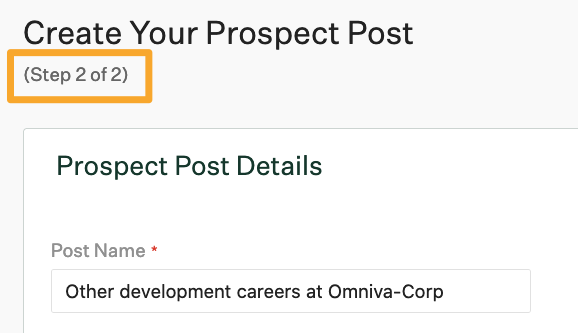
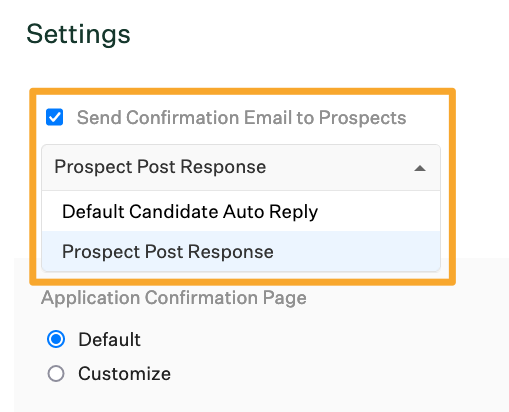
Scroll down to the Settings section and select your template under Send Confirmation Email to Prospects. When you're finished, click Save.